Due to tight, creative collaboration with Bandito Brothers’ editorial team,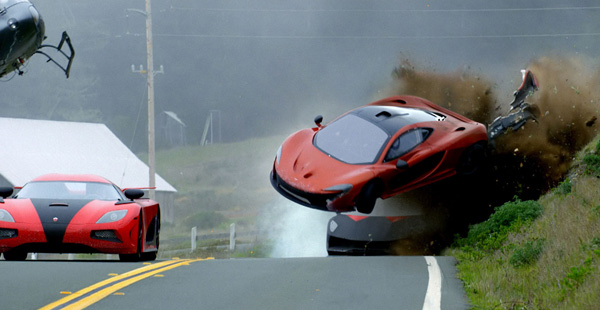
Cantina Creative was able to complete 1,000 VFX shots for ‘Need for Speed’
in only six months with a team of ten.
Cantina Creative & Bandito Brothers Accelerate a True VFX/Editorial Workflow |
| Due to the close working relationship with the editorial team atBandito Brothers,Cantina Creativecompleted roughly 1,000 visual effects shots for the film ‘Need for Speed’ in six months, with a team of only ten artists. These shots represent over 90 per cent of the total VFX work. |
 |
 |
|
“I became involved at that time, to design and help lay out a VFX workflow with editorial, and customise a post process at our studio. By integrating our VFX operations with Bandito’s editorial department we had the advantage of a flexible workflow that suited very specific needs. Because Scott knows and trusts the VFX process, he can run a tight set and does a fantastic job of making all the different pieces come together. We can work together while we shoot to save time on the back end in VFX.” |
 |
|
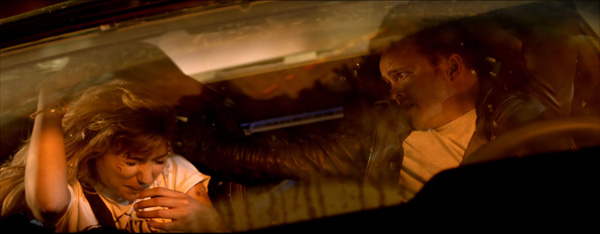
Set ConnectionAtomic Fiction, who handled two major action sequences, oversaw on-set VFX data collection over the duration of the shoot, and Cantina also dipped into the set photographers’ images when they needed very specific elements or reference. “Typically we will use onset photography to light a scene especially when we are doing major CG work but on this film, as we were doing CG augmentation, matching the existing light was very important,” Tony said. “Fortunately, those shots fell under a very diffused overcast sky, and we could quickly replicate the lighting based on pre-excising scenes we had set up. We still had to dial in custom levels of the lighting through V-Ray, do some rotomation and then use the onset photography for reflection maps. |
 |
 |
|
At one point, the VFX team was working on a night time sequence in New York. Rather than rebuilding the environment - rotoing, animating and lighting - it seemed the best plan was simply to shoot plates. Scott flew out to Manhattan over the weekend. He went though the list and shot very specific plates for them, bracketing focal distances with specific focal lengths that had been pre-determined from principal photography. Replicating PhotographyTony had a chance to collect assets himself during their shoot in San Francisco. “The set was littered with cranes, heavy duty cable wenches, production gear, 1,000 pound steel road plates, air cannons, safety gear and lighting rigs. After we wrapped, I began shooting specific VFX plates, replicating perspectives, under similar lighting, to mimic principal photography. I could get clean night-time plates of the set after the crew cleared out at around 5.30am. |
 |
|
Cantina were able to look over the dailies to assess the full scope of work, and meanwhile editorial began stringing out assembly cuts and Tony worked with selects and hero shots to get a head start on the visual effects. “Nevertheless, the edit was liquid, which meant many of our early VFX shots became a judgment call and, at times, a gamble. We tried to work smart with what we had. For this film it worked better for us to avoid a typical post-vis workflow - everything we did was with the scans, right from the start. |
 |
Faster Access“This was the beauty of working with the director of post production Lance Holte at Bandito who could access these negatives directly. Their team could pull negatives and have selects for us in less than an hour instead of the one or two-week turnaround you have from an off-site storage and transcode facility. It really changed the process for us as we never waited around for plates or scans. We also had direct access to the digital negs, so I had the luxury of searching and acquiring specific plates to build out shots that needed several different elements, textures or reference.” They progressed right into the final VFX workflow, and editorial could begin using those shots to tell the story. If the shots made it all the way to the final cut, they were then ready for the colour grade as well. In this specific case Tony felt that relying on Lance and the Bandito turn-over crew, and working with the scans rather than the conventional Avid temps, during those initial stages made a better workflow. |
 |
Exploring with EditorialTony feels that much of his team’s success and approach also depended on the editor Paul Rubell, who invited Cantina’s collaboration on many sequences while the cut was still in progress. “Direct access to Paul meant he could explain what he was interested in, and I could then break down the shots knowing exactly what he wanted to explore. It was refreshing not to go back and forth with emails, and avoided misunderstanding. I could walk 20 feet over to his edit bay and we could chat about switching out different takes, staying in a wide view, critical story points he wanted to hit, timing, overall look and feel, or just bounce ideas off of each other,” he said. |
 |
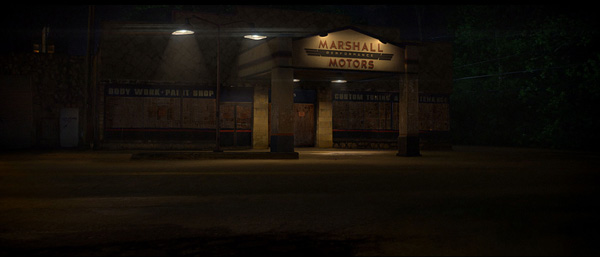 |
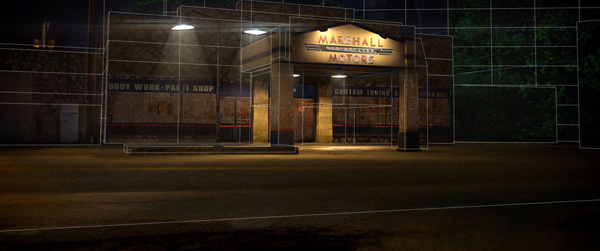
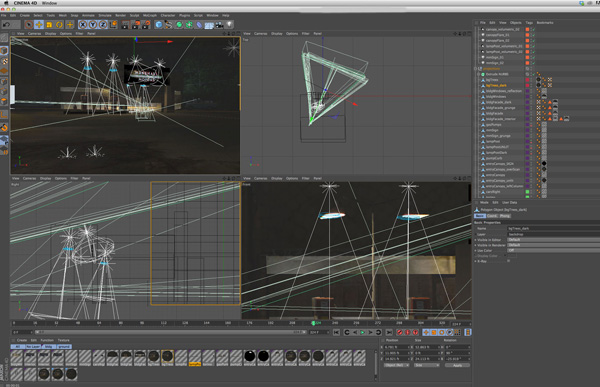
Reconstructing Time“We began by fully re-constructing the photographed environment, using it to customize a stylized moment in time that showed our hero environment decay into a broken state of foreclosure. I sat with an assistant editor and found plates we would need for the camera projection. Editorial would pass along an edl of the selects we had chosen, used to pull and post the 4K negatives on the shared server. I also had access to the neg pulls to find the exact perspective I wanted to use. “From those plates, the team captured the lens data, the textures and the concept of what we were after. Two of our artists, Stephen Morton and Josh Sprinkling, worked in tandem to camera project textures, shot raw on the Canon C500, with additional custom matte paintings onto geometry within Cinema 4D.” |
 |
 |
|
Race Time“As we were dealing with a race car movie, we spent a lot of time creating speed effects, always using realistic speeds because as soon as the cars were moving too fast, it started to look like an old Keystone Cops movie. Any speed effects had to be subtle and designed alongside camera shake - the camera shake needs to be applied after the speed effect, in that order. “Once you get the shake going, speed effects often need re-adjusting, and once you get that mixture right you need to re-introduce the motion blur. We worked carefully with Scott on this and landed on using a 90 degree shutter on our camera shake, and rippled this though hundreds of shots, each sequence having different degrees. It was a fine balance and was important to get right from the beginning.” |
 |
|
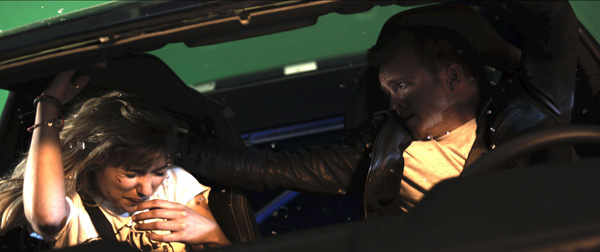
They found many opportunities to make their effects work with the edit. They were able to present multiple options for achieving specific effect, with a time frame, and then manage the process together while the edit was still open. Another example involved graphic elements. While cutting to a blank monitor, editorial had to allocate a beat of time or a moment to tell the story. As the edit got closer to locking, the animation of those graphics needed to be plugged into the edit. “It is a lot to ask the editor to cut a sequence with a series of green monitors – but by a certain point we can see that the story points and graphics rush by so fast that we need to open the edit back up and even hold on full frame graphics. Being involved from the early stages helps develop the pacing and story points of the animation, even if it’s rough, when I can sit with the editor and map out how the graphics will animate and story points we can hit.” CG PipelineTony described the team’s pipeline, in whichCinema 4Dwas the primary 3D package, rendering out multiple passes for the composite through their render engine, V-Ray. “We worked in After Effects for most of the composting with PF track for the match moving,” he said. “But having said all that, one of our artists in particular used 3ds Max and Lightwave with FumeFX and Nuke. |
 |
|
|
|
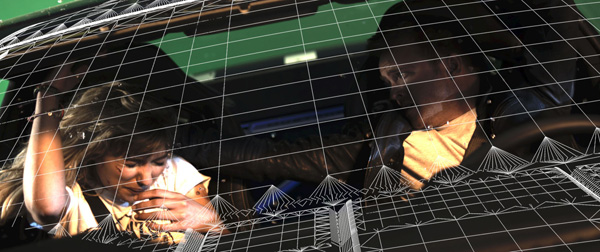
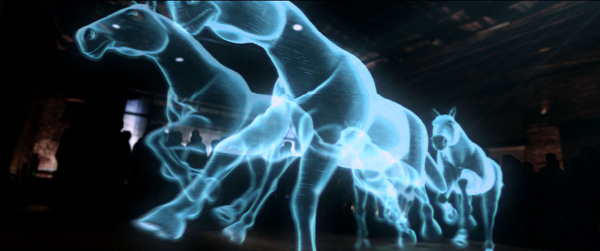
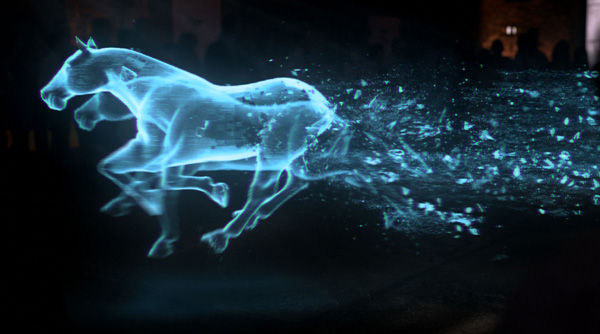
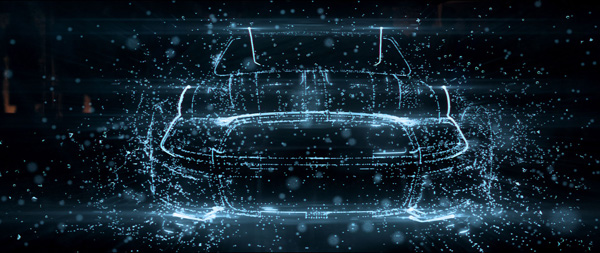
“In any case, nowadays it is all about the workflow and preferences that determine what software is used for what job. Because the hardware is now so fast, with everything working in 32-bit floating point with a linear colour space, we are always open to the best tool for the job. Ultimately, the VXF artist is what is most important to me. They bring the most impact, while the tools just get better and better. It is very exciting and good to keep an open mind to the different tools. Holographic HorsepowerCinema 4D played a major role in creating the film’s holographic scene in which the main character showcases and reveals his modified, super-charged Ford Mustang. A small group of four artists plus an animator tackled this sequence involving numerous types of effects including cloth simulations, volumetric lighting, camera projecting, texturing, dynamic particles, on top of the modelling and animation, achieved entirely in Cinema 4D. |
 |
 |
|
Sean Cushing oversaw the sequence and helped design each shot, including a pre-vis phase. All passes were to be rendered in stereo for the film’s stereoscopic release, which meant dealing with the directionally breaking up, animating geometry. However, having control over these VFX shots, while working with a self-contained assemble edit, allowed them to mould the shots together to result in a dynamic sequence. Each artist was not only involved in the 3D build but the compositing as well. |
 |
 |
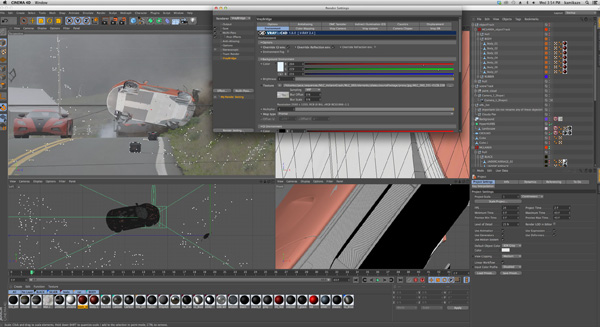
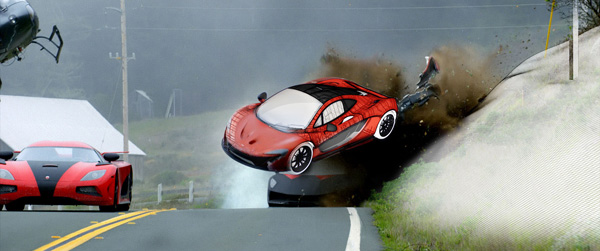
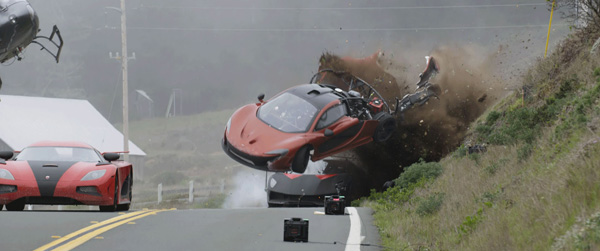
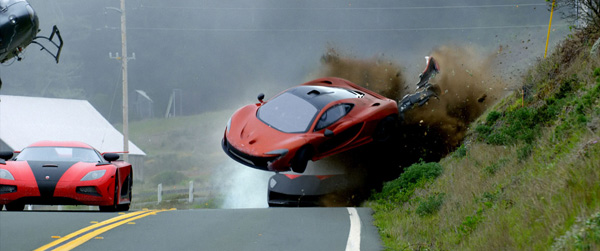
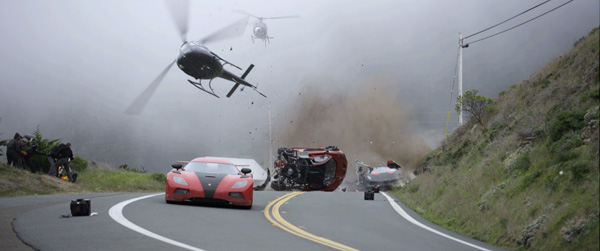
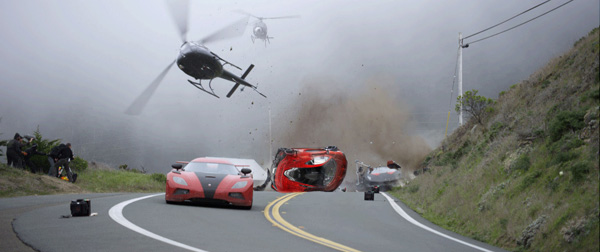
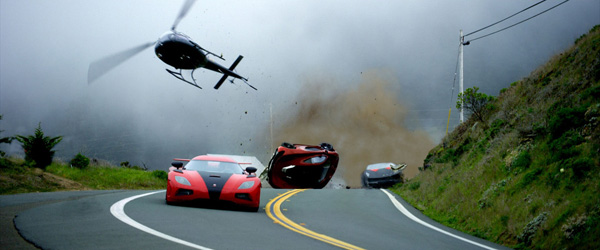
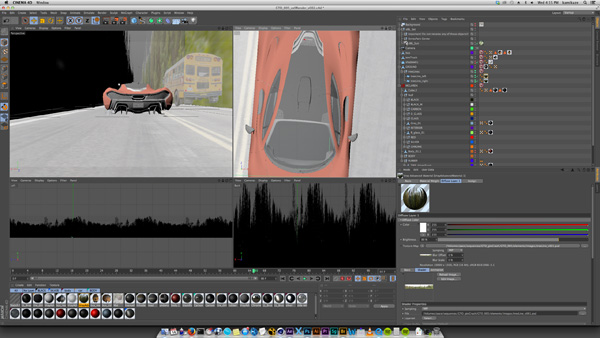
Stunt Driver PerformancesDuring filming, the director had a cast of talented stunt drivers on set, flipping, spinning, crashing and flying the cars through the air. During some of the more violent, turbulent impacts, the cars would lose side panels, entire back ends or elements might burst off in the middle of a take. “This required us to patch some of the vehicles back together in post in Cinema 4D, but the stunts were all captured in-camera and were incredibly big. The CG work was simply used to help augment certain shots,” Tony said. “Our artist Stephen Morton rotomated many of the flipping and spinning cars, referencing the pre-existing motion, practical structure and lighting to enhance the practical in-camera stunts. We rendered through V-Ray and broke out passes as needed. |
 |
|
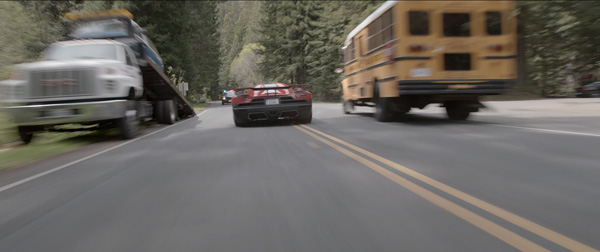
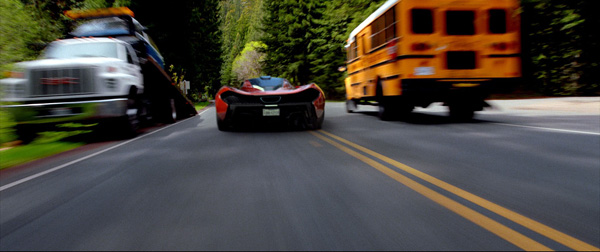
“In this case, rotomation was used not to control the action but to hide the fact that the car had completely imploded under the stress and impact. Since we couldn’t have the cars completely unravel, we enhanced what was there, but never enhanced the action, leaving that up to the stunt performers. “One of our biggest CG challenges was during the story’s climactic DeLeon Race. The film’s antagonist Dino Brewster uses his Lamborghini Elemento to pit the P1 McLaren. Julianne Dome first completed a majority of the scene’s challenging paint work in After Effects, building out clean plates to feed to Stephen, who led the CG. Takashi Takeoka and I took the composites to final.” This sequence was especially tricky because each vehicle was partially obscured by camera bodies and the speed rail along the road, and the battered backend of the McLaren revealed the car’s protective roll cage. Using the Cinema 4D - V-Ray combination, Stephen was able to augment the McLaren’s backend during the sequence. Many of the scene’s reflections were generated from the practical plate to insure interaction between the car and the environment. www.cantinacreative.com |
| Words: Adriene Hurst Images: Courtesy of DreamWorks Pictures |


