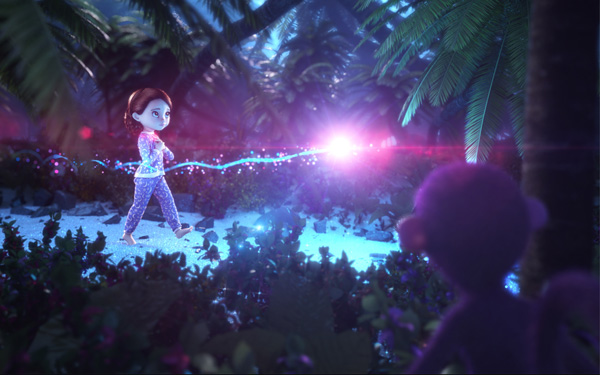
Alex Scollay, a CG and VFX artist, has developed a series of storyboards
as a graphic novel with CG imagery and cinema production values using
3ds Max, V-Ray, Nuke and Thinkbox software.
CG Artist Alex Scollay Makes ‘Vicki’s Wish’ Come True |
| AlthoughAlex Scollaystarted his working life in IT, his longer term goal was to become a computer graphics artist, and he devoted most of his free time after work to design projects. He later found a job working on a science fiction TV series and was soon spending his working days “blowing up spaceships and animating asteroids and laser beams”. |
 |
|
Real DreamFor many years Alex remembered a key image from that dream of a child meeting a glowing star in his bedroom at night. While working as a visual effects artist, he had always noticed that storyboards serve as a simplified comic book version of a movie. Early in his career he experimented with 3ds Max and used it to storyboard a short film he was working on, and wondered what he could achieve by developing cinema-quality boards with CG imagery. |
 |
|
Alex started working on the project in earnest in 2012, thinking of it as a CGI-illustrated graphic novel. Angela agreed to the idea and began writing the story and narrative on index cards, placed on a whiteboard for reference. Their book was officially sold on iTunes and Amazon as ‘Vicki’s Wish’ after 18 months of work. Each panel is a fully realized HD frame made with the same CG techniques used in feature films. |
 |
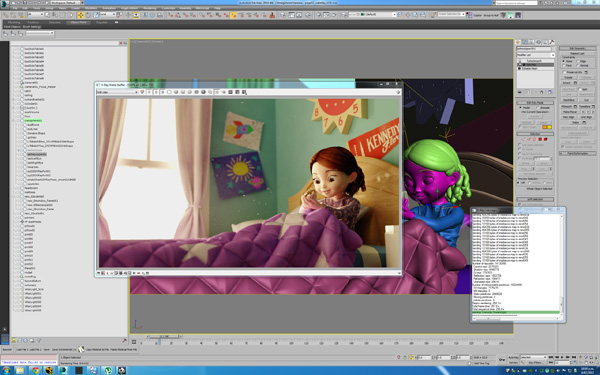
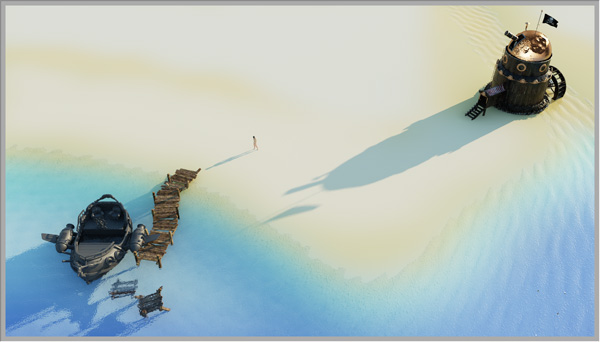
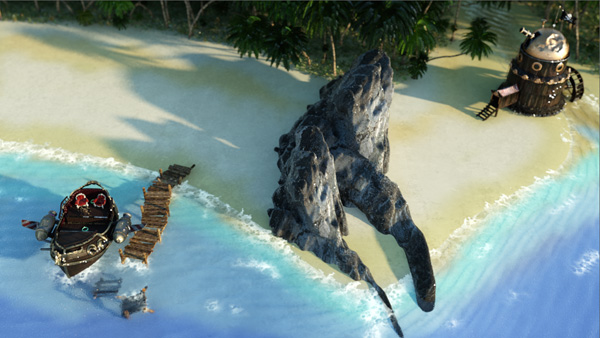
Extended ToolboxIn order to complete all of the illustrations himself, Alex used 3ds Max with V-Ray, which he had been using for most of his career. He put his pipeline together carefully with tools that could serve multiple purposes, contributing to his project’s distinctive look. Thinkbox Frost and Deadline were included, ZBrush, Mudbox, the Adobe Creative Cloud Suite, and Nuke. Grant Adams’ Render Pass Manager for Max handled file versioning, render pass management, V-Ray settings and file naming. Describing how he used some of these tools, he said, “Frost actually came in handy several times. For example, to model the moon cavern at the very end of the book, I wanted a melted, lava-like surface in the design. I hit on using Ephere's Ornatrix hair system to comb out a bird’s nest of flowing splines in the shape I wanted and then used Frost to turn these into solid, fused rock. Frost picked up the underlying UV channels of the splines and I used that to drive an extra layer of displacement on top of the mesh to give it more detail. |
  |
|
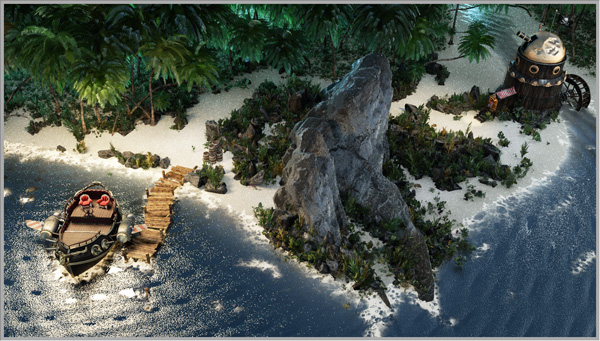
“Because it has lots of deep hooks into many other kinds of toolsets and workflows, Frost integrated very well with the tools I was using, Thinkbox has developed all their software in production and it does show when you use it.” Lights and IlluminationA quality that Alex felt was essential to his project was the use of a huge amount of light and how it illuminates objects. Because achieving the correct balance was fundamental to the vividness in the images that he wanted, he used real-world photographic methods for the lighting in order to make the images look as much like photographed miniatures as possible. |
 |
|
As if he were lighting a film set, he built practical light sources into the sets and bounce cards, softboxes and off-screen reflectors for glints in the eyes, fills and similar effects. The larger outdoor scenes were created using CG Fisher Lights, which are arrays of glowing light balloons used to light wide areas on large physical sets. In a scene in which the main character Vicki follows her fairy along a path through an island jungle, Alex designed the lighting very similarly to how he would light a real outdoor night scene, using 12 of the balloon lights overhead for a soft diffuse blue light. “V-Ray has a tool you can use to turn any mesh into a V-Ray area light, which is handy for various effects. I modelled a large, simple cylinder, like a Chinese-lantern, turned it into a mesh light and then cloned out an array of them above the set to get the nice soft light I was after. I got the idea years ago after seeing a photo of a soundstage rigged up with lights like these. I developed the mesh light approach to mimic the real lights with good results, and kept the workflow in the back of my mind ever since.” |
 |
|
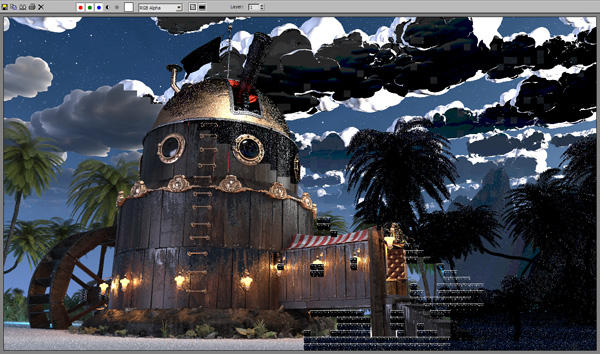
The hotter moon source was created with blown-out highlights and a 3-point lighting rig that surrounds the girl. Area lights with a single hard kicker created a specific glint in her eyes. The lighting scenario results in delicate soft spots that attract attention to the contrast between light and dark in the jungle. More Materials and TexturesV-Ray was employed to create fog that responds to the strong back-lighting coming through the trees. Its depth and mysterious look could be rendered in a single pass. “Although it slows the render down considerably, I chose to use V-Ray fog. The thick bank of it in the pathway scene produced interesting interactions between the light rays and GI coming through the jungle that you wouldn't get from 2D fog.” |
 |
 |
|
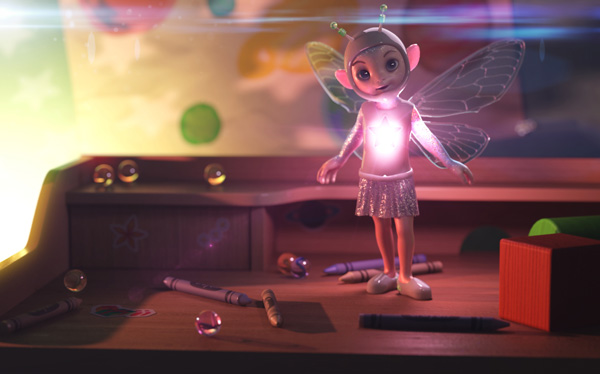
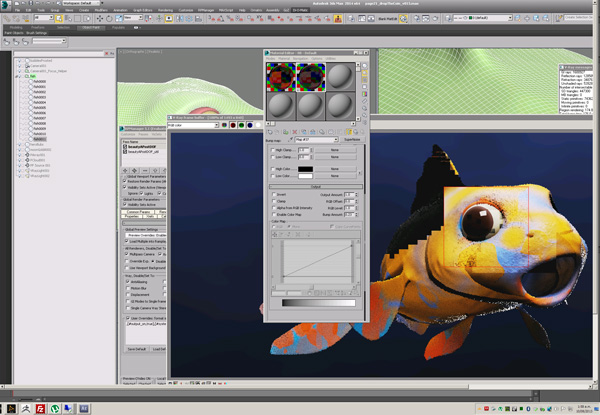
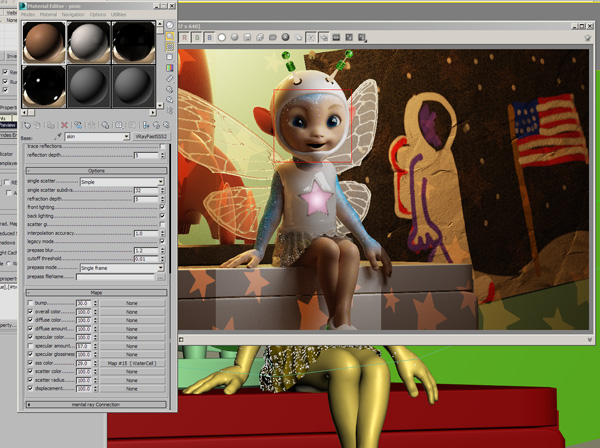
To create various other materials and textures, Alex took a number of different approaches with his subsurface shaders. Starting with a basic SSS 2 shader, he was able to work on the skin of the girl and the fairy with a pink skin setting, which he tweaked for more transmission. To stack shaders, Alex used V-Ray Blend materials. He said, “I like to control the SSS and reflectivity separately, so I always use a black reflective V-Ray material layered on top of an SSS 2 and use the additive mode of the blend material.” On parts of the body that require more transmission of light, such as ears, Alex painted and blurred vertex colours to mask a blend between the regular skin shader and a shader with deeper, redder scattering to generate the right type of backlighting. The fairy’s beautiful multi-coloured skin required a different approach. To maintain the control he needed to produce more complex, interesting shading effects, he made sure each major hue was a separate shader, and then blended them together using grayscale distribution maps instead of one very large map. |
 |
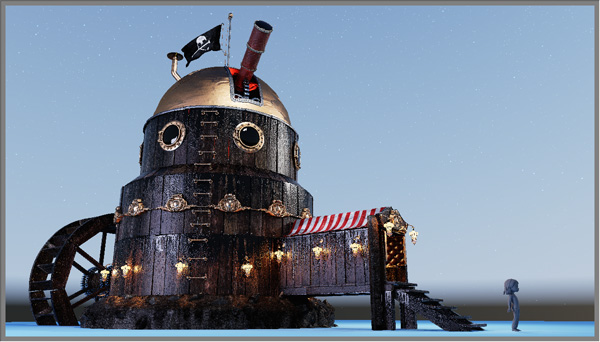
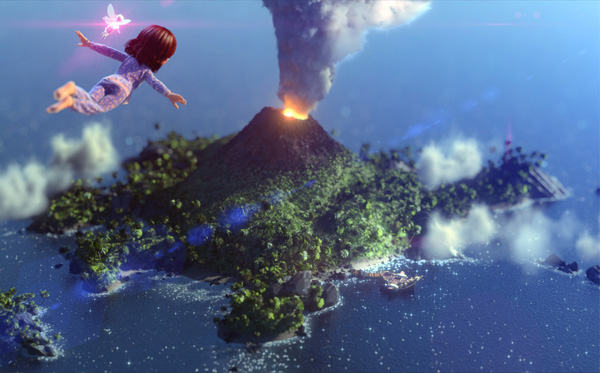
Procedural CloudsThe pearlescent finish of the moon machinery and fairy’s costume was made using an SSS 2 shader set on solid refraction mode, as well as many scatter subdivisions for a smooth appearance. With some trial and error using the phase function, he arrived at the right milky, candy-like quality, and achieved the reflectivity with a gloss coat via additive mode blended V-Ray shaders. Using V-Ray two-sided materials on plants and feathers in the Pirate’s cap also increased the translucency. The clouds come from procedurally sculpted models shaded with SSS 2, finally lit with a V-Ray Sun. The effect is very soft but keeps its hand-made look. “To save the time of hand sculpting all of the 100 clouds I wanted in Mudbox or Zbrush, I used Frost to mesh a Particle Flow system emitting particles with a single frame lifespan from a 3D cloud template. The resulting Frost mesh was fed into a world-space lattice deformer that flattened the base of the cloud, and a relax modifier at the top of the stack smoothed out the geometry. |
 |
|
“Once you scrubbed the timeline in 3ds Max, you got a unique fluffy cloud with a hand-sculpted look on every frame. I baked out 100 of these then did a select pass to keep the interesting ones. It took a couple of hours to develop the methodology for this and get my first cloud, but the payoff was that the next 99 clouds came for free.” Captured In-CameraTo keep control of the timeframe on ‘Vicki’s Wish’, Alex aimed to capture as much in-camera as possible so that the images wouldn’t need a lot of work in post-production, aside from a few grading nodes, DOF and glows. “Basically my approach was to imagine I was laying out models and miniatures on a table, under lights, and then shooting them with a DSLR. It wasn’t always successful. Some images just ended up as lots of different layers pasted together in Nuke and fell a bit short of what I was aiming for, with no time to go back and rework them. But many times I was able to get the exact look I wanted.” |
|
|
|
V-Ray render elements were of use to produce mattes for grading, as well as depth channels to use in Nuke to enhance depth of field. Render elements were also helpful for certain shots where Alex would render self-illumination and SSS elements. “V-Ray has a lot of great render channels available. Vlado Koylazov, co-founder and head of software development at Chaos Group, will work with studios to extend the renderer to meet their needs. These days I think any pass you could want is now in the software. “However, the workload on the project was so heavy I found that, as much as I would like to, splitting out everything from the render and rebuilding the shot in Nuke was just too much to handle for the number of images I needed to produce. In the end it was simpler to render a few RGB mattes and Z-depth for grading certain elements and depth of field, but most of what you see is pretty close to how it came out of the renderer – without the flares, of course.” |
 |
Outside AssistanceA logistical bonus for Alex came about one year into the project when he was offered the opportunity to use the studio at Assembly Ltd in New Zealand, where he had been working for the company on an animated CG commercial called ‘The Devil’s Chair’. This spot was also rendered in V-Ray and subsequently won several awards. Assembly’s offer gave him access to the equipment and infrastructure his project needed and he stayed there until it was completed six months later.http://vimeo.com/73094973 www.assemblyltd.com He raised funds through Kickstarter and other help came from Amazon’s EC2 Cloud, which allowed Alex to access dozens of extra rendering nodes on off-site computers, almost as if he was running his own render farm. His images were render-intensive to produce, finished at just under 4K each per print. |
 |
|
“The number of extra nodes I needed varied, usually just a couple for overnight renders, up to a dozen for distributed rendering for look development. Every final image was just a hair under 4,000 pixels wide. Because we had to deliver a print version as well as the iPad version, it made sense to just render once and resize the images. Fortunately, RPManager can talk to a variety of different render farm systems and also had no problem talking to the cloud based Backburner manager. The Next Step“It has a steep learning curve, but it can really help to split items out and manage file naming and render attributes per pass. I’ve used those functions more heavily on other jobs in the past, but even with the relatively small amount of render elements I used on this book, RPM made setting everything up very simple. It isn’t a render farm system on its own, but it has deep hooks into Thinkbox Deadline and will connect to the Deadline Repository and set up each pass as its own render job and handle all the file naming and output location details.” Now that Vicki’s world has been so meticulously created and lit and has a complete set of ‘storyboards’, Alex revealed that animation is not going to need a huge effort. Interestingly, although the viewer doesn’t see it, ‘Vicki’s Wish’ is already animated. “Vicki’s clothing and hair are all simulated,” he explained. “To create each image in the book, she starts off in a standard T-pose at frame zero and then animates into whatever pose she will be in for that page. I then run hair and cloth simulations over that to get the final look. She and the rest of the characters are all fully rigged and animation-ready, and the sets are all built and lit the same as for any animated feature. All the project needs is an animator to breathe life into it all and put it into motion.” www.chaosgroup.com |


