Thomas Tannenberger, Visual Effects Supervisor, and Gradient Effects got started on ‘The Box’ in August 2007, when the shooting script was nearly ready to go. They joined the Director David Kelly, the Director of Photography Steven Poster and the producers as Kelly explained his vision about a character with a huge scar on his face.
Thomas and Olcun considered how they could achieve this and create the monumental character Kelly wanted. It wouldn’t be possible through prosthetics or practical make up. This puzzle combined with a limited budget formed the parameters of the brief, and made the perfect challenge for Gradient Effects.
Limited Solutions
The software available in 2007 for significantly modifying a live-action person was still under development and certainly not cheap. This type of work was starting to be done for larger budget films like ‘Pirates of the Caribbean’, for example, but not for an independent feature, not at this scope or in so much detail.
‘The Dark Knight’ was in development just at the same time, where the team working on the ‘Two Face’ makeup followed similar methods, theory and workflow to the ones Gradient Effects decided on, although they only discovered this fact when they had almost finished ‘The Box’. Olcun, for example, had based some of his own development on the same software, Autodesk MoviMento.
Shooting started in November 2007. As an independent movie, they had to work within the actors’ availability. So from the initial briefing period, they had barely three months pre-production to plot their effects strategy for the movie, go out to the shoot in Boston, set up witness cameras on set and figure out their tracking marker set up.
Something Supernatural
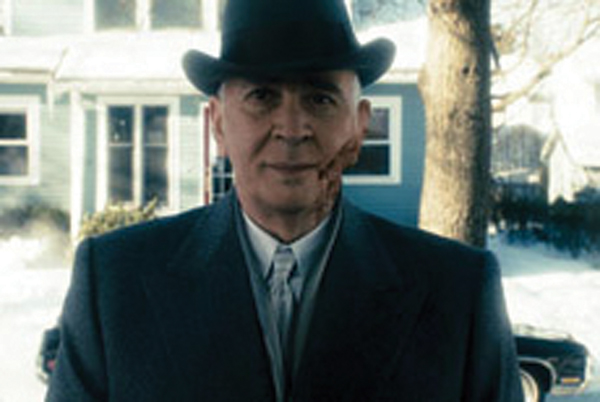
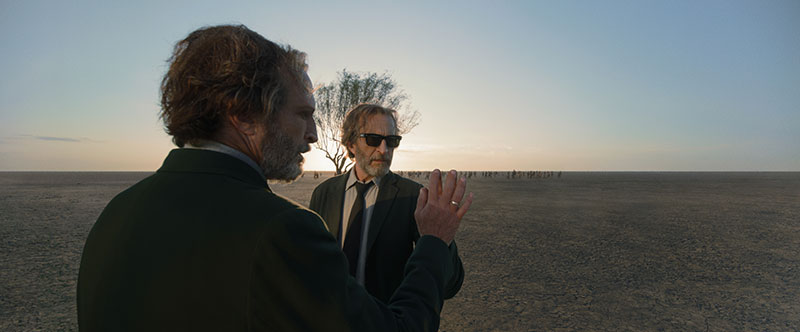
Of the more than 400 VFX shots in total they completed, about 390 made it into the film, and 144 involved Arlington Steward, Frank Langella’s frighteningly disfigured character. Frank demanded so much of their attention because, apart from having to create the scar, his scenes were filmed to allow audiences to stare at him steadily and critically in the face for prolonged periods, not cutting back and forth between characters.
They took light probes into every set where Frank would be to capture lighting references. Their goal was reality: could you look at this face for, say, 10 minutes and still believe it was real? This is what the sympathetic lead character Norma has to do, for example. On the other hand, a real person with such a scar would have trouble speaking and other problems but, according to the script, Frank does not, alerting the audience that something – possibly - supernatural is occurring. They had to refine the design enough, find a way to track the facial movements to follow the subtleties of Frank’s performance and integrate light to the point where it no longer stands out.
First Maquette
The design of Frank’s scar was finalised between David Kelly and Makeup Department Head Louis Lazzara, who designed the first maquette. From a mould taken from Frank’s head, he started to carve out the actual scar showing the extent of the damage the character had suffered. Once they had the complete maquette, it was scanned into their system using a cyberscan. They also scanned Frank’s head on set during the shoot, to make up for any differences that may have arisen in the meantime.
Olcun said, “The model of the face was detailed in ZBrush by digital modeller Tom Kernan, and we used displacements to incorporate additional secondary detail. Rendering and shader development was entirely done in mental ray. We rendered out half float openexr image files, to allow maximum flexibility in compositing, for example, and colour correction.”
Rating Realism
An unforeseen consideration for the team was compliance with PG rating limitations on how far they could take realism – the ‘gore factor’. Going for a ‘PG’ instead of an ‘R’ rating would widen the film’s audience. The wound they created had to be totally healed with no blood to frighten viewers away. Olcun said they have their own procedural tools to analyse how tissue moves and face shading to match real skin, but he and Thomas agreed that their work had to be watchable as well as genuine, and therefore worked toward a compromise.
Frank’s wound is so extensive that it’s also possible to see through his head, meaning that it required a subtractive design removing part of his head from the live action footage and replacing it. It also meant that wherever possible, they had to shoot clean plates of the background where Frank was standing. When it wasn’t possible, they had to recreate the backgrounds, taking textures and using them as elements in compositing or even creating a CG background for complex camera moves.
The Gradient Effects team numbered about 35 at any one time, because while ‘The Box’ got underway, the company had started working on another film. Consequently they had some of the cleanup and paint work done by an Indian company, EFX at Prasad Group, because Olcun’s triangulation and tracking technique had required placing tracking markers on Frank’s face and entire head.
Stormy Weather
Further outsourcing was called for when unexpected heavy snows fell on Boston in December 2007. Suddenly, the location had extensive snow everywhere and no longer matched previous footage. “We developed a ‘snow script’,” said Thomas. “The story takes place over four days. Day one shows a light drizzle, day two a light dust of snow and eventually a heavy layer of snow covers the ground at the end. All these weather effects had to be created. Only in one location, outside a party at night, did we show the actual, natural weather. The establishing shots of the family’s house covered in snow for example, were all created by Pixel Liberation Front in LA.” Weather anomalies affected about 60 shots.
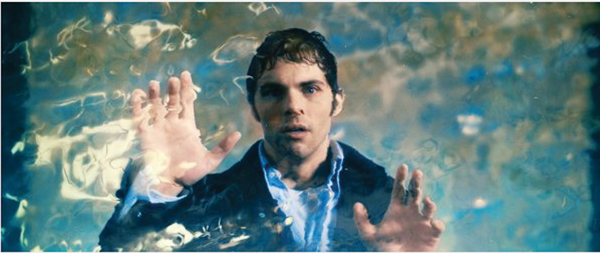
Water effects had to be designed for the supernatural, climactic scenes where several ‘water gates’ from another world confront one of the characters. The original design brief asked the effects team how these dimensional gates would work - how could they be grounded in real, physical theory? “We would have to invent a fluid that looked like water but didn’t behave like water, was more viscous, stylised and had a life of its own,” said Olcun, “which is how the simulation and final animation of the liquid structures was designed. We used RealFlow to create the liquid, plus Tweak and Maya, and rendered it in mental ray. We studied different oils as reference. A combination of motor oil and water qualities was used, which of course affected texture and light refraction.”
The only realistic water they simulated was when two characters fall through a ceiling in a gush of water. They combined CG and real water, literally dumping a load of water into the set. “This was one of the few times in the production when a practical effect was cheaper and better than resorting to CG, with the same detail and duration,” Thomas said.
Turning Back the Clock
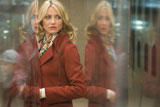
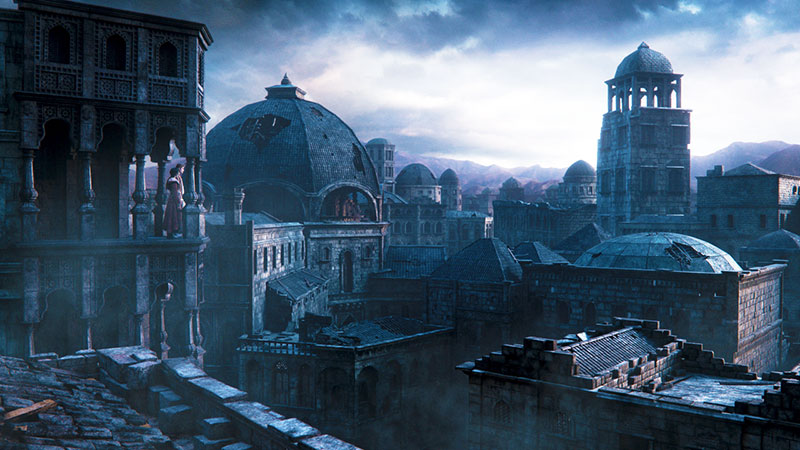
The movie’s location and 1970s time setting were personal issues for David Kelly. Shooting took place in Boston but the story was situated in Richmond Virginia, Kelly’s own home town and where he was living during the ‘70s. Consequently, Richmond’s ‘70s exteriors had to be recreated if suitable shooting locations couldn’t be located. To create these, they shot their own plates and worked with matte painters, CG artists and an architect from Richmond who supplied them with piles of library material and historic photos to help turn back the clock.
Five of the shots required complete augmentations to what the city looks like today, including CG cars. Nevertheless, they still based their work on live action plates, keeping vegetation, ground and other details to give a realistic feeling. “This is better than relying totally on photos and trying to create the natural atmospheric movement. We re-created backgrounds, buildings, a department store, but these were all locked off shots. Sweeping panoramas would have landed ‘The Box’ far outside of budget. They work as establishing shots, and combine with the slow, deliberately shot footage overall and don’t stand out.”
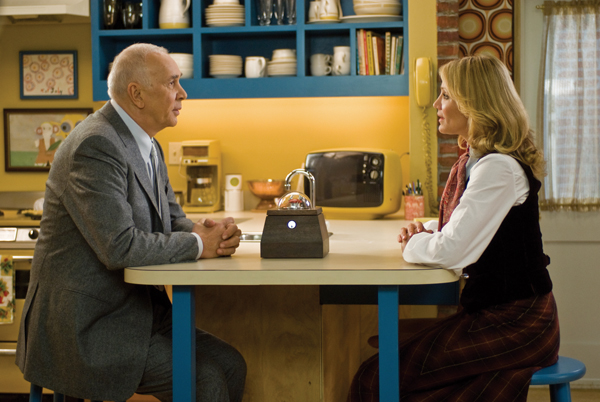
Interiors featured subtle 1970s style cues and notably included contemporary TV sets. Images were tracked and composited into green screen spaces in the TVs, accounting for reflections and the extra light emitted into the room. When Norma switches off her TV, it doesn’t just blink off. It develops a tiny burn at the centre as the tube cools.
Shooting on the Genesis
As soon as DP Steven Poster and David Kelly decided to shoot the movie with the Genesis HD camera, Gradient Effects started testing look up tables. Kelly had a firm idea of the look he wanted for the production. Gradient and the DI facility performed early tests together to establish the look and worked out how to tweak the Genesis output to get the best possible base.
“Poster used a quarter fog filter on most shots to create a ‘70s film look. The LUT chosen was typical for the 1970s with slightly elevated black levels, with a polished quality, probably much the way a new movie would have looked in the 1970s, with all colour intact,” said Thomas. The footage worked in our favour – grain was replaced by a slight noise, which we found easier to set up and blend with composited results. The base footage held literally all detail, in spite of the filter.”
|
|
Triangulation Pipeline
Designing a convincing, acceptable scar was one thing, but how to get it to sit precisely the right place within Frank’s face as he talked, moved and lived in camera? Olcun Tan said he had faced a similar problem when working on the opening shot of ‘Black Hawk Down’, when he had developed a triangulation technique that he could adapt to this case.
While Movimento, Autodesk’s video-based motion capture system for tracking non-rigid objects, helped to some extent, the match-moving application 3D-Equalizer, with motion tracking abilities for reconstructing 3D camera and object motion paths in live action footage, was used in most shots.
Their own pipeline was an important element of the job as well, based on Maya with all components assembled through Mel scripts written by Lead Character TD Jim Polk, who was also responsible for rigging the face. The triangulation process runs as a standalone application and runs in Maya also, as a backup in case the commercial tracking applications should fail.
They began by taking Lidar scans of the set, giving them the ability to recreate the camera positions. Once the cameras werelocated in space, raytracing was used to identify each tracking marker on Frank’s head. “A ray is shot at the correct angle from each camera position. Where the rays intersect is your corresponding point on the face in Maya. The cameras are looking at the same point from different angles to give the precise location. We had further Mel/Python Scripts to correct and edit our extracted data, written by Kevin Hoppe our Lead 3D Tracking Artist. This method, similar to the iMoCap system ILM used for ‘Pirates of the Caribbean’, is used fairly regularly now.”
But the remaining factor is to integrate it into a workflow that allows enough iteration to keep refining the facial effect. They were adjusting this effect every day until it was sitting precisely on the image, and they became one. “So you need a pipeline to allow this iteration without having to throw your previous work away every time you start again. You are constantly improving the model right up until your deadline,” Olcun said.
They had to set aside time and people for R&D, and devised a process in which the whole rig and setup was scripted. This software could replicate itself quickly, with any changes coded in, to inherit automatically to all shots. TD Jim Polk also wrote this code.
Words: Adriene Hurst
|
