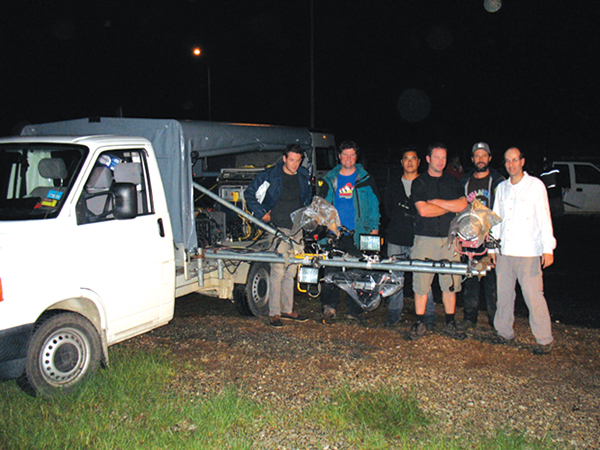
| He called on Stereographer/VFX Producer Paul Nichola to piece together the technologies and rigs for shooting the movie he had in mind, revisiting a project he had started 22 years earlier. Following some research, it was decided that the Silicon Imaging SI-2K would be the most feasible choice. It not only gave the cinematic quality Mark wanted but, by separating the heads from the bodies, a pair of the cameras could be fitted into a rig small enough to shoot from down at a cane toad’s point of view, one of Mark’s principle goals for the production. Off-the-shelf setups they had considered lacked the stability needed to survive the rigorous conditions they encountered.
Building the Rigs
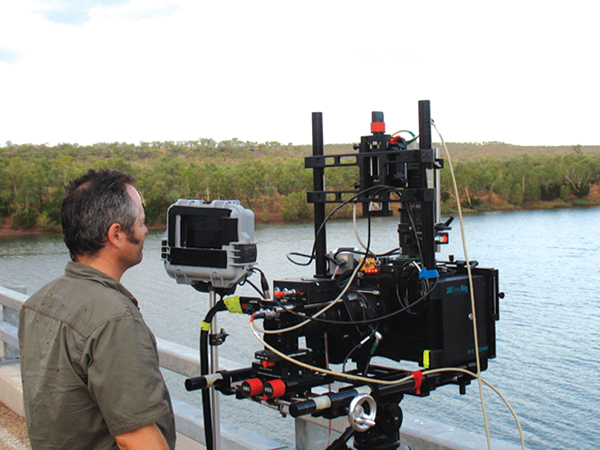
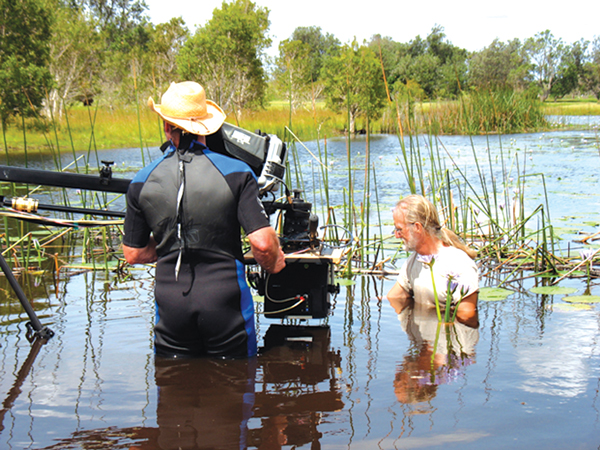
In documentary style, the 22-week shoot took the crew to varied locations and situations, shooting various people and places as themselves, not as actors on a set. To handle the different settings, about six or seven different rigs were built. Most of them were 50/50 mirror rigs, one shooting down into the mirror, the other shooting ahead through the mirror. A side-by-side rig was used on wide vista shots.
A mini-rig for their ‘toad POV’ style shots was built to be especially rigid and stable, an important requirement for this kind of shooting. A special interview rig was assembled, a macro-rig for closeups, an underwater rig, plus time-lapse set-ups. Some could be mounted onto a pole, others a crane. Each set of cameras was tethered to a custom built recording deck.
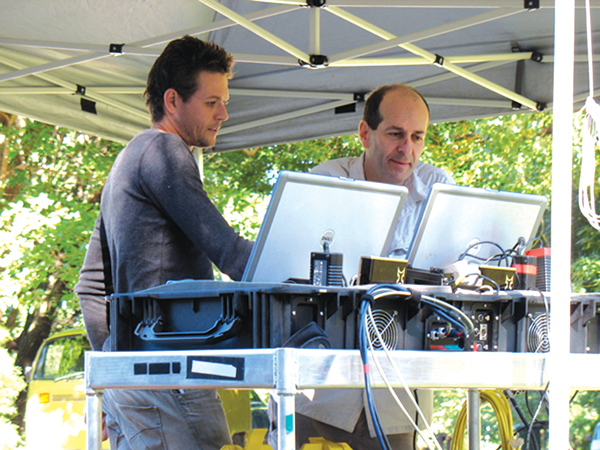
Two computers allowed software control of the individual cameras, shutter speeds, frame rates, live 'looks', and playback preview. The computers provided live feed to a customised real-time 3D preview monitor. Images were recorded to separate hard disk drives for each eye, in the cameras' native RAW format. Hard drives were sent back to the production office from location where they were backed up to a RAID system connected to an edit-station and custom render station for editing and preview.
Out on Location
Once they were confident of their rigs, they developed a shooting methodology to suit their time frame, budget and the people they would be working with. Paul assembled a team of post production and compositing artists to work on the footage with later. While shooting, the left ‘eye’, or camera, in the rig was treated as the master for framing. Interaxial distance was set for the 'right' eye amera and convergence was established to a close approximation, knowing that the final convergence point would be determined in post.
Some visual effects, especially green screen composites, were used for a variety of reasons. “Occasionally, a toad was placed into a shot because the editor needed it to tell a particular story,” said Paul, “and some shots could not be achieved any other way, such as those with deep focus and strong 3D on both the foreground and background. An example of this shows a toad on a rock at the bottom of the frame, after the camera tilts down to reveal Storey Bridge and the city of Brisbane.”
Digital Intermediate
When the footage from each camera had been edited, composited and undergone the first correction pass, it was delivered to Cutting Edge in Sydney for the conform, digital intermediate and colour grade, to be carried out on their Baselight 4 system. The team there received the left eye/right eye images as stereo DPX file sequences. They checked for remaining geometric distortions and started on the colour correction and eye balancing.
Cutting Edge General Manager Stuart Monksfield had begun discussions about the project with Mark and Paul at a point about half way through the off-line editing process. To fully prepare themselves before starting the grade, Stuart and his Senior Digital Colourist Adrian Hauser had visited Weta/Park Road Post in NZ, and talked to other experienced 3D artists in Los Angeles, for advice on DI and colour correction for a stereoscopic production. They also consulted Paul and Mark continuously throughout the DI process and grade.
The Baselight can playback multiple streams of 2K images concurrently, and the first step was simply to balance the colour of the two image streams in 2D mode, beginning with footage from the left eye master camera in the rig, looking for regular and special defects. Having to do this twice, once for images from each camera, was only one reason why the grade took a full four weeks.
The Perfect Match
“The main difficulty,” said colourist Adrian Hauser at Cutting Edge, “was balancing and matching the colourimetry of the different 'eyes'. Colour differences between the image streams can be due to slightly different lens coatings, inefficiencies in the optical prism block and the sensors themselves. Depending on the severity of the grading adjustment required, these differences would be amplified.
“Not only did we have to find the average exposure and colour of shots within a scene, the 'least squares method', to make all the shots in a sequence equal out, we were limited by how well the other eye matched the colour and exposure. If one shot in a sequence occurs where the streams don’t match, viewers eyes strain to work out the difference and their attention pulls away from story, so the two eyes do have to match perfectly.”
One element that can be very hard to match is reflected highlights. The interocular distance between the two lenses at the time of shooting presents problems in post when highlights are present in one eye but not the other. This can happen between an individual’s eyes when observing shining objects, and is called 'retinal rivalry'. In extreme cases, tracking grading windows have to be applied on one eye only to compensate for the differences, which can be colour clipped digital whites, highlights or colours.
The colour space used was the Digital Cinema Specification’s X’Y’Z’, 2.6 gamma for 2D and 3D digital footage. To compare, the defined colour space for TV is Rec709, and that for film is RGB and depends on the film stock used to record out to. Each of the 2D, 3D, Film and TV master versions of the film need to be specifically graded, checked and rendered for their respective colour spaces and screen brightnesses
A Few More Challenges
Preparation and research notwithstanding, as he proceeded, colourist Adrian Hauser encountered quite a few differences between a conventional 2D grade and the stereoscopic grade. “To begin with, the physical volume of data in 3D is literally twice, if not more, as much footage as compared to a usual 2D Feature Film Grade. Both left and right full res 2K versions of every shot are present on the grading timeline as they both require adjustment. While grading, the two layers must act both independently of each other, for eye matching, and in a ‘ganged mode’ so that, once matched, the same grading and position adjustments can be applied concurrently to both eyes and immediately viewed in one of the 3D modes on the system.
“In a DI, it is now also common place to have Matte shapes and Composited layers on the timeline to assist with the grading and matching of VFX shots within an otherwise camera original scene. If a shot was traditionally delivered in 2D as 2 elements plus 1 matte shape, in 3D the same shot would have 4 elements plus 2 mattes. We also needed to have the many title and text elements required for the documentary on the timeline because we found that, in 3D a title's positioning impacted on the shots convergence settings, and therefore required per shot adjustment to both text position and image.” Mark and Paul had decided against ‘floating text’ that is sometimes used in stereo productions, choosing to place it on the plane of the screen instead.
Grading Template
From their initial tests, they had a fair idea of what lay ahead in terms of the conform, grade and 3D alignment mastering. However, to deal with unexpected events, they created a software and grading template that placed all eventualities and potential client requests on the grading timeline, using the Baselight toolsets currently available at our fingertips.
The fact that ‘Cane Toads’, as a documentary, was shot in so many different locations, each with different, uncontrolled colours and lighting, added to the complexity of the grade. “Documentaries are notoriously shot in many locations, with many different light sources, different '3D' rigs, over a period of time. They don’t really stick to traditional scene-based editorial styles. When all the above variables are edited together, they turn the grading timeline into a challenge to deliver seamless transitions.”
Creative Grade
Then, with Mark, they could begin the creative stage of the grade and set the look – again, starting with the left eye footage. This took a little over one week, a more typical amount of time for a 2D project. Afterwards, the footage from the other camera was given the same grade treatment as the good eye, and the left/right balance was checked a second time again.
At this stage, Paul and his team viewed the results in stereo – for the first time - to check and refine the separation, or interocular alignment, and make sure the viewer’s eye would focus naturally on the point of interest without any straining or headaches. This added another three or four days to the process and in some cases required dynamic changes to stereo alignment mid-shot as the point of interest moved physically or changed with focus.
Projection
To view the footage, Cutting Edge used a Barco DP100 projector. This project was one of the rare occasions they used it with a 6500W lamp, the brightest available. A lamp of less than half that power is normally sufficient for film and 2D grading. With the inefficiencies in the light path of 3D projection, the larger lamp had to be run at full power to achieve the 3 to 5ft-L 3D projection specification. These lamps are also extremely expensive and only last for 400 operating hours each.
The Dolby 3D projection system in Cutting Edge’s DI theatre uses a rotating optical filter wheel, about the size of a DVD, which sits inside the projector itself. It is controlled under the Barco’s automation software, and drops in and out of the light path depending on whether it is running in 2D or 3D mode.
It’s possible that ‘Cane Toads’ will be distributed to consumers in 3D before long. Cutting Edge has been working with Sony DADC to create authored 3D DVD and HD BluRay discs. Together they have a proven method to make 3D content available for consumers, who should be able to purchase 3D capable flat panel displays before the end of 2010.Stuart is also confident that the investment Cutting Edge made to upgrade their equipment will pay off. Clients looking to produce music videos and commercials in 3D, especially for cinema presentation, have already approached them for post production services, and Cutting Edge’s Outside Broadcast Division are also investigating the need for live 3D coverage of sporting events, concerts and studio based television productions.
|
|
On The Hop
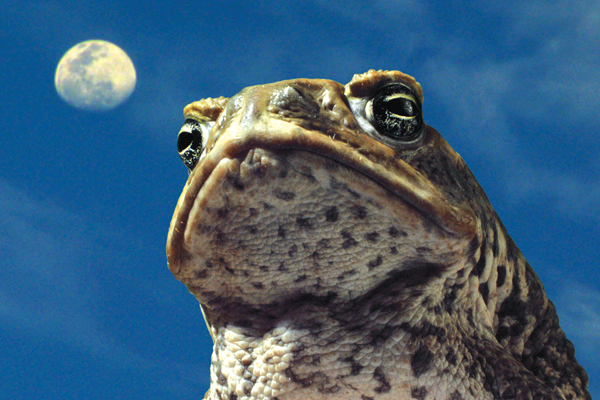
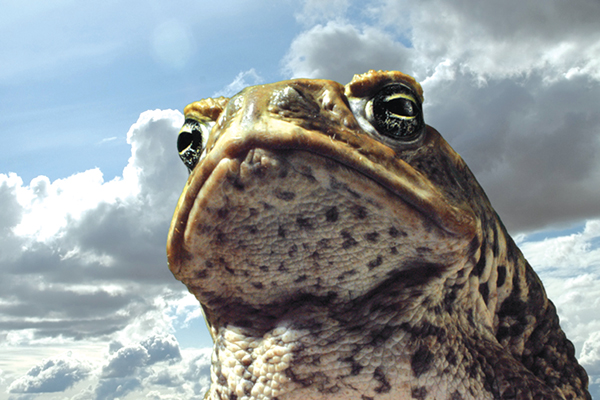
‘Cane Toads: The Conquest’ is an account of the history, science, human conflict and bizarre culture surrounding this infamous environmental blunder. The cast includes scientists, community groups, politicians and locals who have closely encountered the toads on their march across the Australia.
A toad taxidermist,and his 2.5kg pet toad Melrose, a woman recalling her outsized childhood friend Dairy Queen and a man lamenting the day his father released the toads on their cane farm are among the many contributors to a cautionary tale facing the issue of invasive species and human conceit, taking viewers on a journey across both harsh and beautiful country.
Participant Media, Discovery Studios, Screen Australia and Radio Pictures present
‘Cane Toads: The Conquest’.
Writer, Director and Producer: Mark Lewis
Executive Producers: Jeff Skoll, Diane Weyerman
And Clark Bunting
Paul Nichola in 3D
Paul has been involved with 3D for about 25 years, having worked on various installations, holograms, lenticular images and product launches. “Back then, it was always cost prohibitive,” he said. “With the arrival of digital equipment, it became affordable, and some “years ago now, I made the decision to return to this arena in earnest.
Mark and I began as students together at AFTRS. He new of my strong history in visual effects, so when he discovered that I had become immersed in stereoscopy, he felt I could deliver the solutions he needed for his project. We had a very short lead time but in many ways, through my own efforts prior to his call, I had been preparing for this type of engagement.”
Loss of Luminance
They had learned that inefficiencies in the light path of digital projection are considerably more extensive in a 3D compared to 2D. 14ft-L of luminance is the specification in conventional film and 2D digital projection, while the Digital Cinema Initiative’s 3D projection specification is between 3 and 5ft-L. The losses in the light path are due to the 3D filtering system and the glasses you have to wear, and these losses of course affect how the grade looks in 3D mode.
Adrian regards the luminance drop in current 3D theatrical projection technologies mainly as a perceptual difference. “As projection and 3D display technologies improve their light efficiency, the images will perceptually be brighter. Already, for some A-list movie premieres, cinema houses stack their 2K projectors to effectively Double the light output giving 6~8 ft-L. This means already there is a large difference in operational light levels on 3D screens, so you simply have to find a reference point and stick to it.
“Also, the average viewer’s eyes will adjust in the first few minutes of a film to compensate for light and colour bias presented to them in that period. This gives designers, cinematographers and colourists a chance toimmerse cinema goers in scapes and palettes that would otherwise seem unbelievable.”
Words: Adriene Hurst
|
