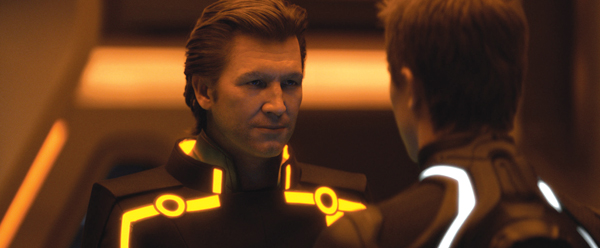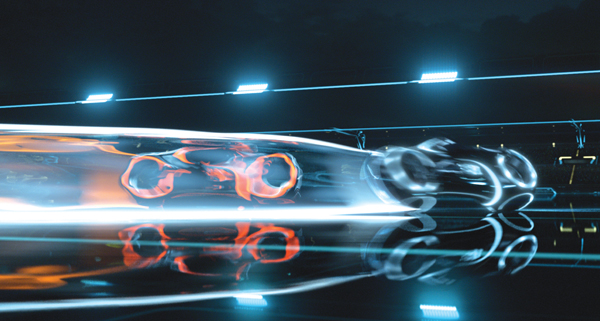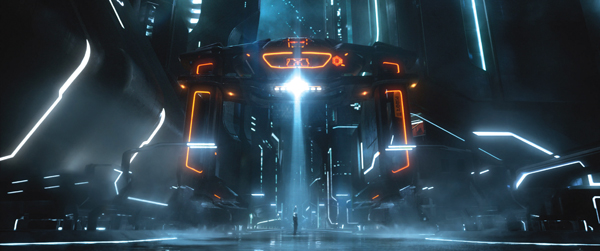
Pulling together the many layers of assets, lights, explosions and visual effects that make the fantastic universe of ‘TRON: Legacy’ was no small task. To achieve the director’s vision, Compositing Supervisor Paul Lambert at Digital Domain worked with a team at The Foundry and artists from numerous vendors. One vendor was Prime Focus, who sent the film’s heroes out across the digital grid landscape in the massive Solar Sailer.
 |
   |
|
The shoot took place from March to August 2009 in Vancouver, where VFX Supervisor Eric Barba from Digital Domain worked on-set with a small integration team. ‘TRON: Legacy’ was Paul’s first stereo project, and one of the first movies made on the Pace rig after ‘Avatar’. The stereo work felt new to everyone at Digital Domain, where they have worked on dimensionalised projects before TRON but not one that was shot in stereo. Camera Testing This film was significant for Digital Domain because they were working with the production and director from the very outset, carrying out previsualistion and running the Art Department in-house. “Digital Domain has never had that level of access to a production before,” said Paul. “We have always worked as vendor under an on-set VFX Supervisor hired by the production. But on this project, our VFX supervisor Eric Barba took that role, giving us much more contact, and everyone found working this way very enjoyable.” The Digital Domain team completed 17 of the film’s sequences including major set pieces for the Disc Game, Light Bike Battle, Light Jet Battle and the portal sequence at the film’s climax. They also set up the looks on all sequences outsourced to other vendors, where the teams would develop them further following the rules and guidelines for the show, which were specific and precise. Consistency was crucial for this film and because about half the film’s shots had to be outsourced, maintaining control was a major task. Follow Focus To use the follow focus system, they would input their camera data, the CG from two different elements and, for example, information from the animation about where that camera should be. From there, they could work out from the plate how to correctly focus their work in stereo space, which helped give the CG an integrated, realistic look. They handed out plug-ins to do all flare work as well, because the film features a highly stylised flare with scan lines, controlled by angles of light. Such tools were developed on the actual shots, and by the time they sent them out, they were complete pieces of software, fairly intuitive to use. For example, to add a flare to a shot, the plug-in would use the location of the other lights in the shot to produce the appropriate ‘TRON flare’. Another tool helped produce the correct glow lines on each character’s suit, reflecting the particular colour palette associated with his identity. These lines often had to be enhanced to look brighter and show the correct colour and flicker frequency. “For some things like pulling the mattes to add the glows, there wasn’t a prescribed procedure,” Paul explained. “Sometimes the glow could be keyed, but in other instances it had to be rotoscoped. The suits sometimes failed and the light would go out, which meant it had to be rotoscoped back in.” Stereo Workflow “Throughout, we were working out what we could and couldn’t do in stereo compositing and tricks that we could get away with. We needed to gain a clearer understanding of interocular convergence and were learning how to compare one eye with the other to create a better image. Some people have more natural skill at this, while others have to learn and can get headaches at first. Double checking every shot for consistency is time consuming but critical.” The action in the TRON world was played out over a clearly defined area. When you looked out over a wide area, for example in the Light Bike sequence, you would see a view in which every asset had to be located on the correct coordinates, so that when you rotated the camera around you would still know where you were in that space and what you would see. Likewise, on the Solar Sailer’s flyover sequence, because the characters were travelling so far, they had to actually pass by places such as the stadium or the arena, all positioned in the correct locations on the grid. Compositing Challenge “The many optical effects were also a major factor in integrating live action with CG layers. All the optics created for the light bikes – moving into camera, turning, twisting, jumping – were done in the composite, slightly stylised of course but they added tremendously to the real-world feeling we achieved in the shots. “In the Light Jet sequence, flying in a massive environment with atmosphere everywhere, we were trying to composite everything together, keeping the glows and interactivity in place with bullets flying everywhere as well. We wanted to give a believable look to tracer fire and exhaust systems. All the tiny bits of optics really helped us finesse the CG to look as real as possible. Z-depth Glows The climactic Portal sequence involved hundreds of layers and passes. It had the Light Jet environment as the background, plus clouds, the sea and atmospheric passes, then the bright portal itself composed of various elements, and the bridge. Adding the CG Jeff Bridges added another full system of passes – it all added up to around 150 passes all together. “Across TRON, the environments were top lit with quite flat lighting, which was intentional of course but did make our head integration work more difficult. We had found on ‘Benjamin Button’, where we had similar work, that if the lighting was fairly moody with identifiable point sources of light, it actually made it easier to get everything working together, while the exterior shots took longer because the light was flatter without a direct source,” Paul said. “However, all of TRON was made this way – no moon, sun or time of day. This was challenging at the beginning of production when we tried to define the Light Jet world, our first sequence. Having no specific source of light made shaping the planes, textures and surfaces in the environment more difficult.” Head Integration Back at the studio, before a shot was assigned, they would assemble this HDR and break it down into its specific geometry. The team would also have surveyed the set, taking all measurements, collecting textures and pictures of all the lights to be able to rebuild that scene in Nuke, which they would test for correctness. Once satisfied, they would publish the information out to the lighters, so they had all the data they needed for the lights cut out from the HDRI and put onto cards with all the associated geometry and could light the head correctly according to the shot for a photoreal result. This pipeline has now been used on several projects at Digital Domain. |


