

Colourist Daniel Pardy talks about building a working LUT for this film with a distinctive 16mm film look, helping the production make creative decisions on set, leading to the ideal final grade
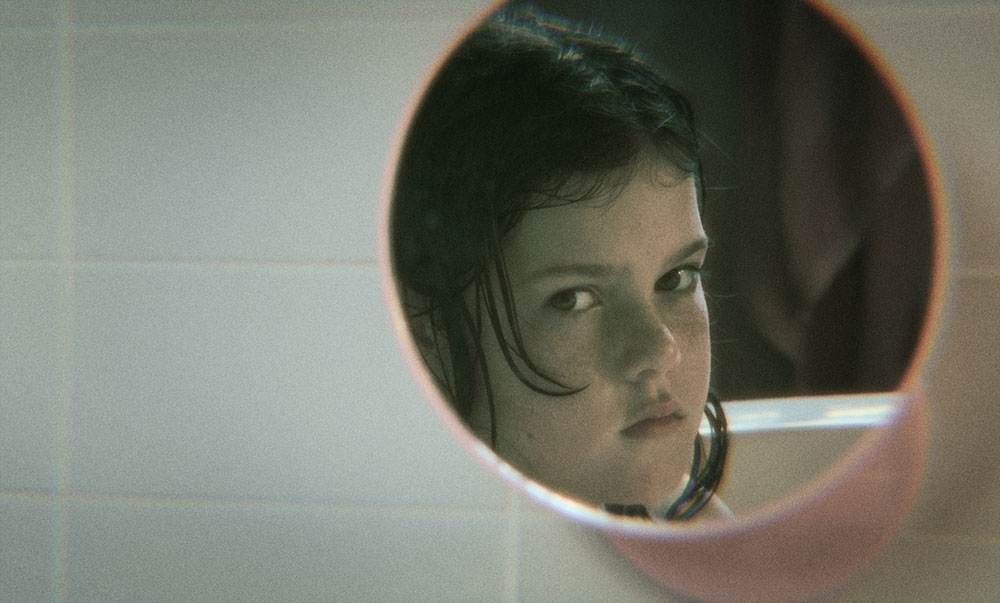
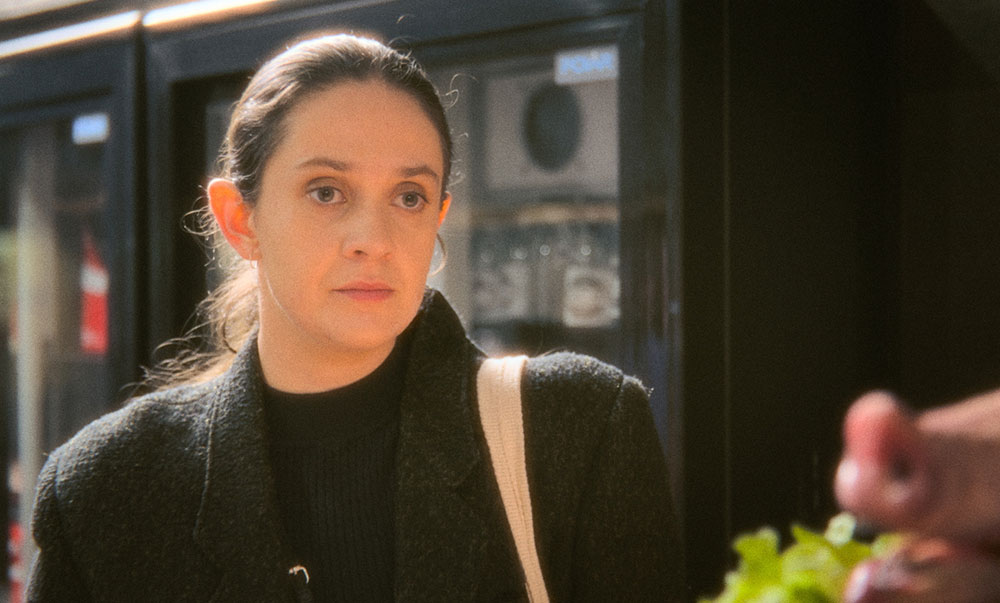
New independent film Salt Along the Tongue is a supernatural drama focussed on family relationships, cultural legacies – and ghosts. It was directed and written by filmmaker Parish Malfitano in Australia, shot by DOP Susan Lumsdon and graded by colourist Daniel Pardy.
After her mother’s unexpected death, young Mattia moves in with an estranged aunt, her mother's identical twin. But a treacherous secret soon emerges that threatens her life. Mattia’s mother returns and possesses her daughter to protect her from a malevolent spirit, as well as to make amends with her sister, using food as the connection.
From the very beginning as he began to write the screenplay, Parish Malfitano saw the story through the look of 16mm film. “The grain, halation and colour profile create an aesthetic that is tangible and alive, and feels the closest to how I see memories and dreams,” he said. “I also didn't want it to feel too clean or clinical, which I believe distances the audience from the story.”
Equally important, the production had to feel grounded. 16mm film in particular met all of his expectations, recalling Polish films from the 1970s and ‘80s. The style of those films served as a major influence on the project. Given the production’s limited budget and the lack of large-scale processing facilities in Sydney, shooting on 16mm film wasn't going to be feasible or practical. Instead, Parish worked alongside his colourist Daniel Pardy and DOP Susan Lumsdon, who conducted extensive tests to see if they could digitally recreate the 16mm look.
Image Capture
Camera testing, of course, was critical. It included the Alexa STX, Sony F5, FX6 and the Red Komodo, just released at that time and which became their ultimate choice. “One of the most important things to me was the highlight roll off and dynamic range of the camera,” said Susan. “With that in mind, I set up a series of tests that would push each camera to its limits. As a control, Kodak Vision2 35mm film stock was reloaded into stills film canisters, providing a reference for how true film would handle grain, highlight roll-off and overall image texture.”
Although the Red Komodo with its modern colour science records in a very different camera format than 16mm film, it worked well for Daniel, the colourist, whose intention was to build the look from a neutral image. “For me as a colourist, one of the best things a cinematographer can give me is as clean an image as possible, so that I have flexibility to mould it into any shape the story needs. This was particularly important with the amount of digital manipulation we knew we had to do to achieve the 16mm look," he said.
“Minimising digital noise as far as possible was a part of this. First, the more noise we have, the less a shot can be pushed in the grade before it breaks, a major issue if, for example, a problem shot has the best performance from an actor and must be salvaged. Second, digital noise would interfere with the very particular grain we need for the 16mm look. Any baked-in digital noise stands in the way of crafting the shot with our desired aesthetic."
Once they had settled on the camera, they proceeded to craft their show look in Baselight with the help of Daniel, who built a custom LUT in Baselight to use on set.
Appealing to Emotions
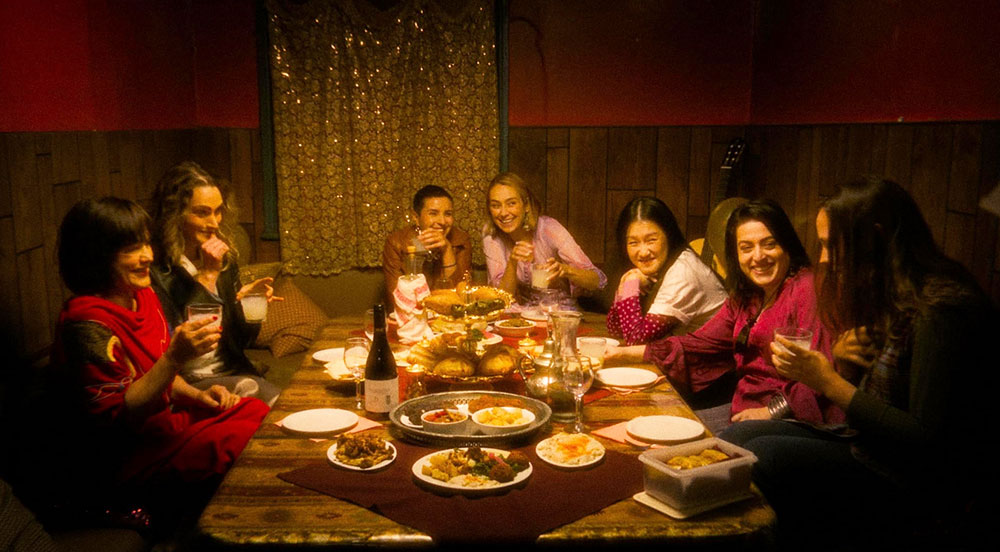
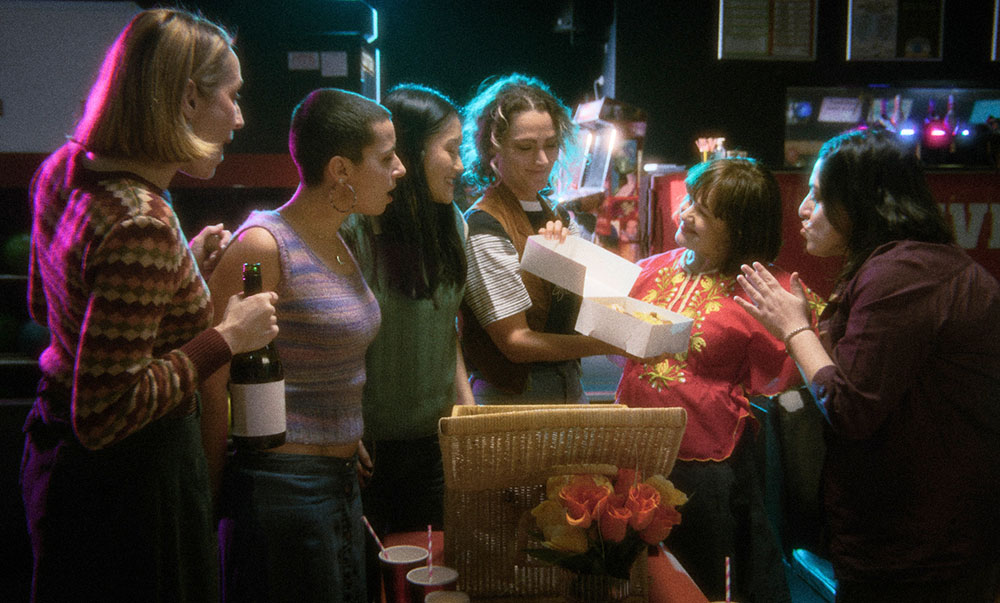
One of the production’s goals was to transport people into the story's world by creating a heightened reality that felt otherworldly and operatic. Like any story dealing with the supernatural, some manipulation would be needed before the audience would buy into it. Daniel said, “Instead of persuading viewers that ‘this could be happening in your neighbourhood’, we chose to appeal to their emotions and make them feel they have been invited into that world, where all of these supernatural events could happen.”
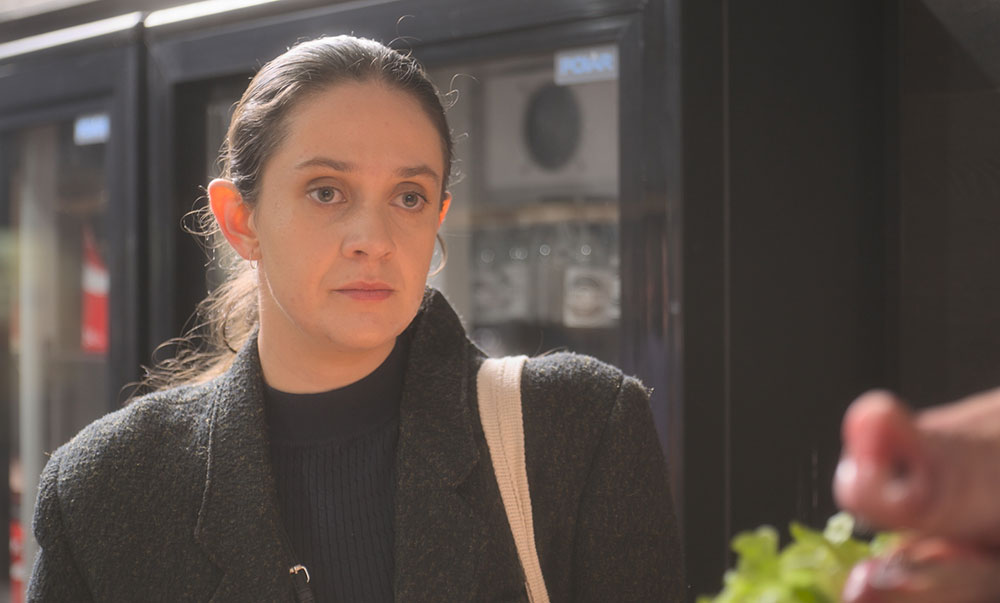
“Using colour to evoke the emotion of a scene, rather than just a real-world experience, was one of the wonderful freedoms this production’s storytelling gave the grade. Specific colours were assigned to certain characters to give the audience a point of reference for whose perspective we are focussing on – particularly once some of the surreal elements of the story come into play.
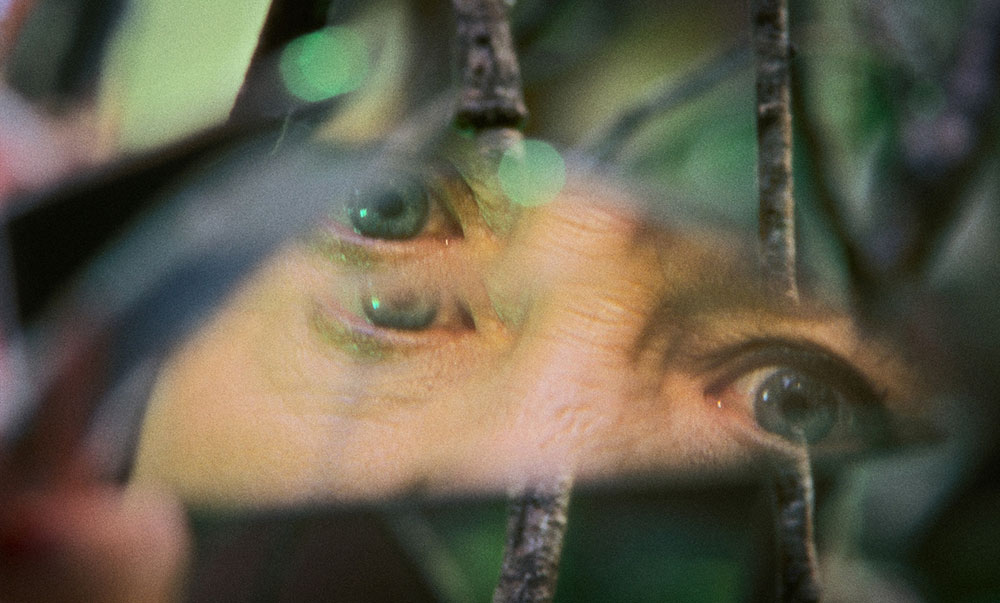
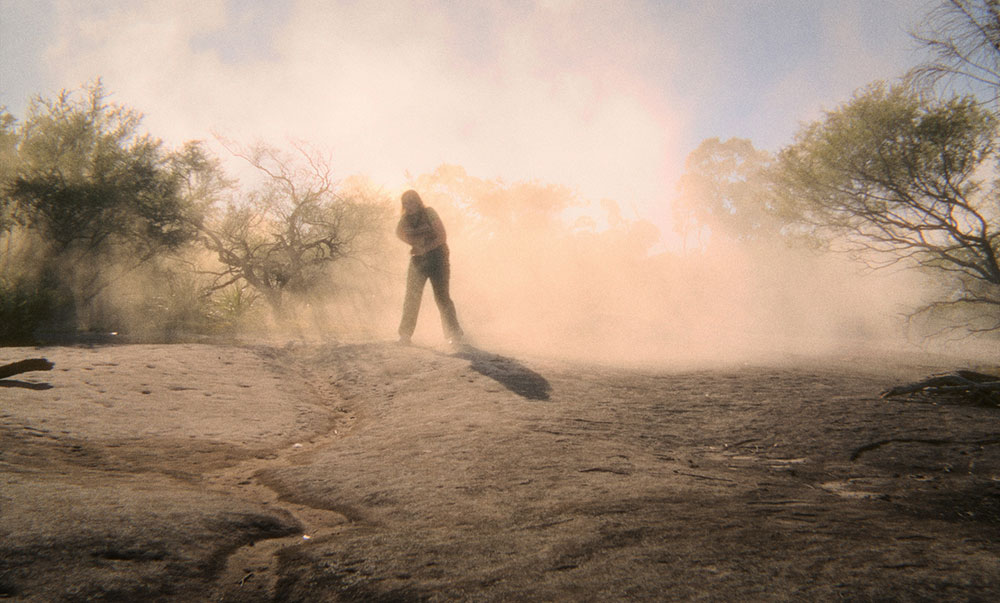
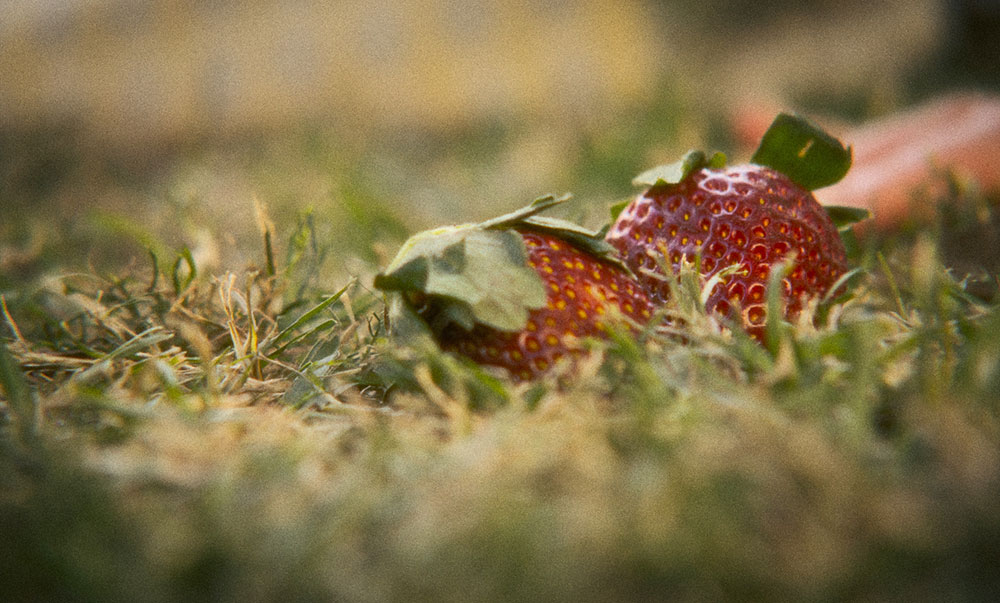
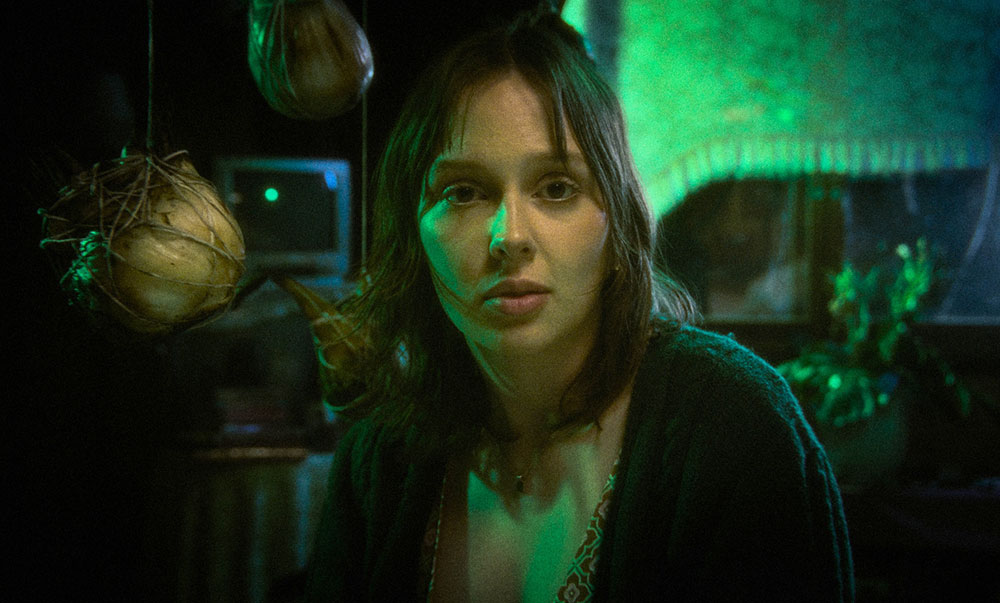
In this flashback sequence, Daniel applied a base of green over the basic 16mm look, then drained away other colours and strengthened the contrast.
“One sequence is a series of flashbacks of Mattia's mother, where we used a base of green over the basic 16mm look. Then we carefully drained other colours and strengthened the contrast. This effect combined with the 16mm aesthetic in a profound, unsettling way, resulting in imagery suitable for the events of the flashback.”
Production Choices
Having created custom LUTs to use on set on a number of projects now, he finds one of the biggest advantages is that it brings the director, cinematographer and colourist together, well before the shoot itself begins, to properly plan the film's look. This approach contrasts with the usual approach of bringing the colourist on board well into post-production.
“In the pre-digital age, the choice of filmstock and processing had a massive impact on a film's look. Today, however, owing to how powerful modern grading tools are, much of the aesthetic is created in the grade. Bringing the grading step into the planning phase equips cinematographers to visualise on set how the shots may ultimately look," said Daniel.
“Based on test footage of the sets, we could see just how the choices made in art direction, lighting, lenses and so on were all going to impact what could and couldn’t be done in grade. We could also identify and address various problems, early on. For instance, wardrobe colours that looked exactly right in the real world, sometimes looked quite different on camera and graded.
“These advantages become even more significant when you’re aiming for a distinctive aesthetic, as we were for Salt Along The Tongue. Deciding how much of a look should be baked into the footage, as opposed to crafting it in the grade, is a fine balancing act. The best result comes from all the elements of lighting, lens choice, art direction, costume, grade etc working together, rather than moving off in different directions.”
Reality Check
Against the advantages, Daniel has learned to advise cinematographers using a custom LUT to reference a standard Rec.709 LUT on set at the same time. Depending on how far the LUT pushes the look, there is a danger of missing potential issues. He said, “For example, if the LUT mutes down the reds, we might miss a clipping issue in the red channel caused by a heavy red tone on set. However, by simultaneously referencing the standard Rec.709, issues can be detected and amended while still shooting.”
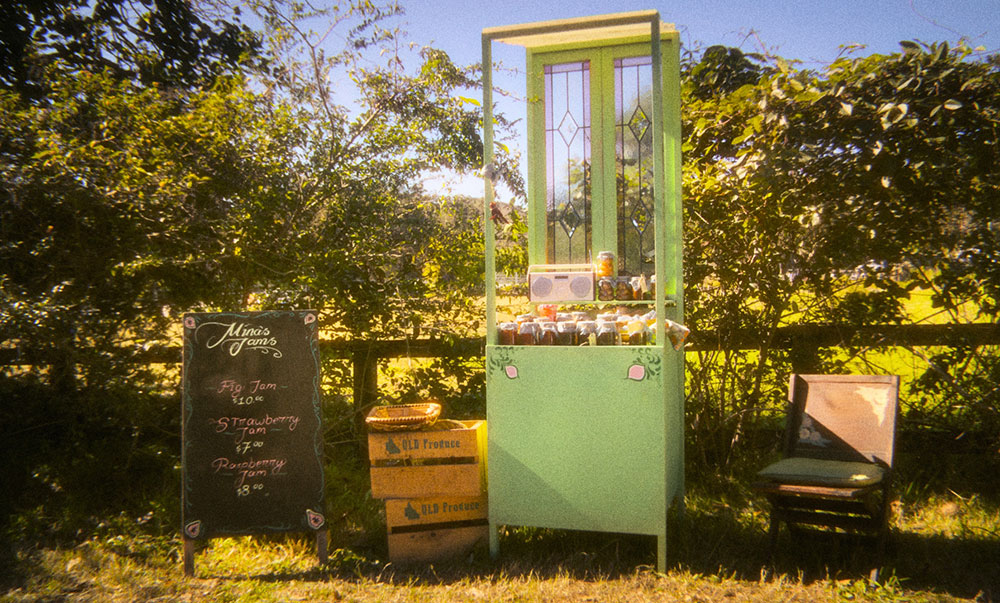
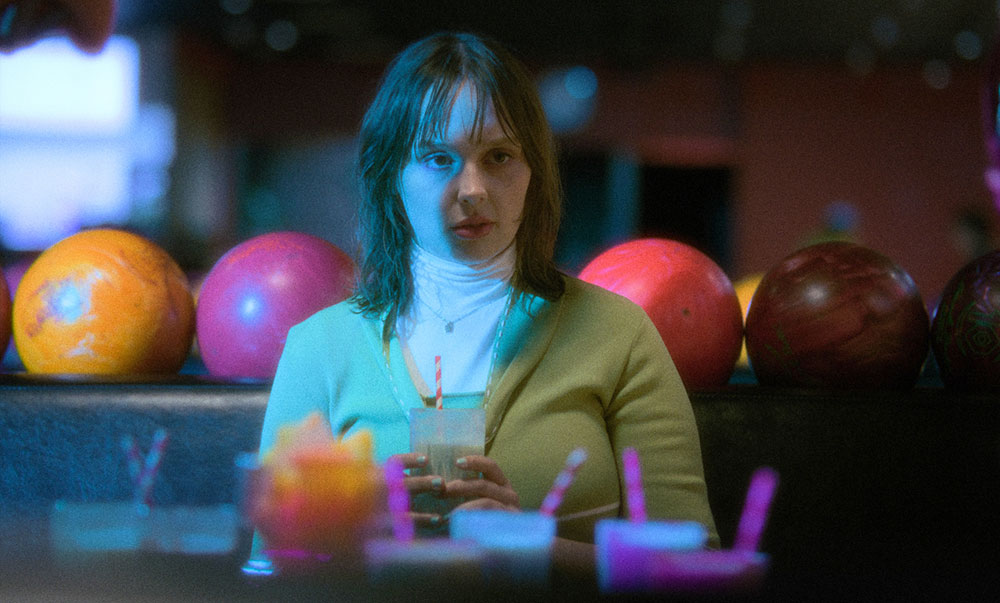
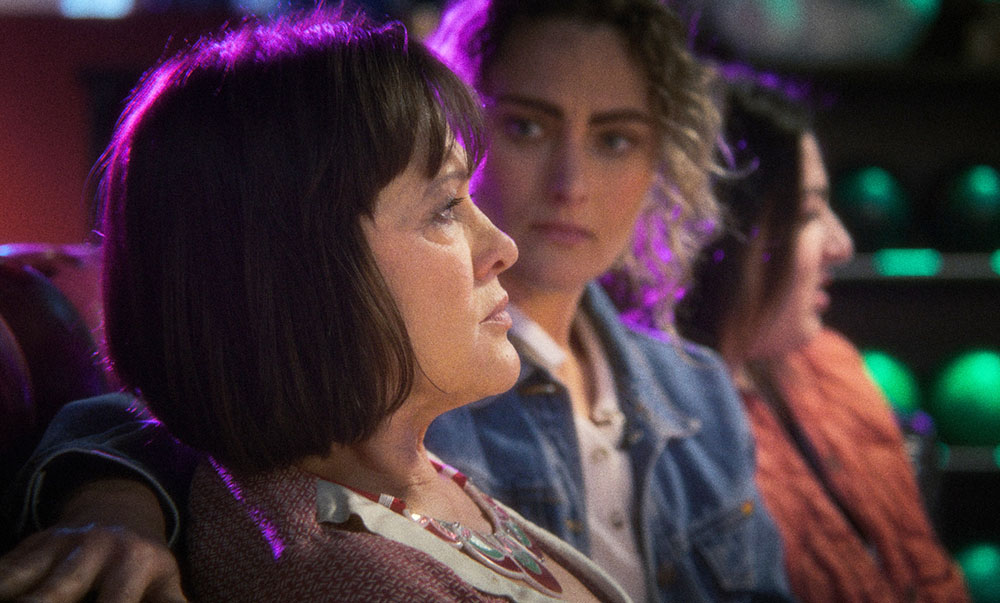
Compare the Standard Rec.709 transform above with the 16mm film look below.
Susan also commented, “When doing some test shoots at actual locations, I found that the LUT was great for the final look but on set had the potential to starve the camera sensor of certain colour information. I decided to film with the RED standard film LUT, and keep the show LUT available on the camera monitor to check when needed. That meant I could still work traditionally with lighting and with the colour of the film in camera, and leave further colour enhancement for grading the final look, when I knew I’d have optimum viewing conditions."
Neutral Foundation
For Daniel, one of the most useful tools in Baselight to help build the LUT was Base Grade, which emulates real camera stops and white balance. “It also has a tool for matching to middle grey. That was important because I wanted to ensure that any LUT we built had a neutral foundation, to prevent making faulty choices while inadvertently working with shots that were slightly underexposed or too warm," he said.
“It helped us accurately compare the digital cameras we were testing against actual 16mm footage," he said. "We shot colour charts in various locations as part of our test footage. Using Base Grade, we matched the middle grey on each camera, enabling us to see what differences existed between the formats in the other colours on the chart.”
Using a 16mm shot as reference, he then used the Colour CrossTalk tool to start lining up the other colours on the charts. This helped to create the basis of the look. He made a few further tweaks with Base Grade – particularly its zone functions, where he could affect parts of the image based on their luminosity, without any keying. For example, he warmed up the lighter parts of the image without affecting the shadows.
Colour Crosstalk allows the colourist to control the output values of the RGB channels, making changes to specific colour tones without keying. For example, if you had a shot with rich, green leaves, but wanted an autumn look, you could manipulate the blue values in the green channel in order to push only the green areas of the images to warmer tones. In their case, it allowed them to match the tones on the colour chart between the digital camera and 16mm reference footage.
Colour Management
However, Daniel considers the unsung hero was Baselight’s colour management. For this film, they used T-CAM (Truelight Colour Appearance Model), which has a scene-referred grading workflow used to match appearances between viewing conditions, and at the same time improves shadow definition and skin tones, with less noise in underexposed images.
“It allowed us to take the different cameras and get them into the same colour space," he said. "This meant our grading tools would respond in a similar fashion, regardless of the source image and, like Base Grade, gave us a reasonably neutral starting point for each camera, both for comparing the formats but also to build our creative aesthetics from. It also made it easy to output LUTs for different displays if necessary – Rec.709 or P3.”
Effects – Grain, Halation, Softness
One of the limitations of LUTs is that they can’t contain certain types of effects – including some that are essential for the 16mm aesthetic, particularly grain and halation. Instead, since he still needed to see what impact they would have on the look, Daniel would apply these effects when it came time to generate the editorial transcodes through Baselight, when he wouldn’t be limited only to the LUT’s capabilities.
This step ensured editing would happen with their complete 16mm aesthetic in place. He said, “The look changes the feel of the shots, which in turn impacts the choices made in the edit. For example, we might find with one scene that the standard look and the custom LUT each leave the audience with two quite different impressions. Working with the standard look would lead to cutting the scene in a way that doesn’t solve the right problem or produce the right result.
“On the technical side, we’re able to see if a certain shot has any notable issues when the 16mm look is applied. It might mean that a different take needs to be used, or determine how we cut around any technical issues.”
They sought to achieve three main effects – grain, halation and softness. Halation was accomplished through a combination of linear colour space transforms and the Colour CrossTalk tool. Version 6 of Baselight now has a dedicated halation tool, but when Daniel initially built the look, version 6 wasn’t available yet. “Baselight also has a fantastic softness tool that allowed us to mimic 16mm's softness, fine-tuning the right level of retained detail,” he noted.
“Baselight’s grain tool is probably the best I’ve ever used. It generates grain with a truly organic feel, while giving you a great deal of control over the size of the grain particles and their frequency, along with how much appears in the darker or brighter parts of the image.”
Final Grade
Making decisions regarding both grain and softness involved determining what stage of film processing they aimed to emulate. A high quality 16mm negative often has fairly fine grain and reasonable sharpness, though less than 35mm, of course. However, once this material ends up as a release print, the effect is much softer and grainier than the original negative. For Salt Along The Tongue, something closer to a fresh release print was the preferred aesthetic, and so they manipulated the size and frequency of the generated grain accordingly.
Best of all, perhaps, because he had built the LUT himself, Daniel was able to put all of his original grade information – both for the custom look and for editorial – together as a base for the final grade. “By using that data, instead of simply applying the LUT we generated, it meant I not only had an accurate starting point, but was not in any way restricted by what we had done with the LUT," he said. "We still had full freedom to adjust all the original grade layers however we saw fit, without having to start from scratch." www.filmlight.ltd.uk
Words: Adriene Hurst, Editor